China, Glass and Porcelain
Repairing Porcelain: Gluing, Filling, Retouching
How collectors and heirs repair porcelain and ceramic objects: gluing sherds, filling missing areas and retouching a damaged decoration, with workshop methods.
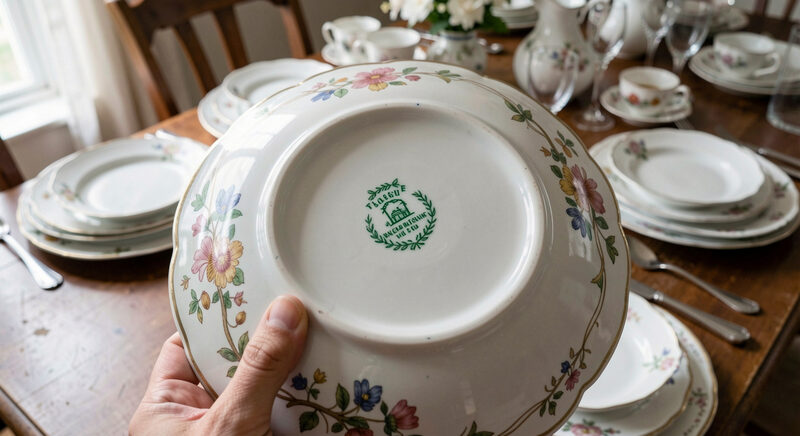
What a repair can and cannot do
A repair returns an object to legibility. It does not return it to its original condition, and it does not return its value. In the trade, a restored piece is priced below an untouched one, and a repair that is visible under a raking light is expected. What a good repair buys is the ability to keep a plate on a shelf, a figurine on a mantel, a cup in use, instead of storing it in a box because a piece is off.
The three operations are distinct in material and in reversibility. Gluing is the most reversible: a properly chosen adhesive can be softened again with the right solvent. Filling is less so, because the fill sits in the gap and must be shaped to the surrounding surface. Retouching is the least reversible in appearance, since paint sits on top of everything, though it can often be lifted with solvent without disturbing the fill beneath.
A collector in Vermont who inherits a chipped platter usually wants to know one thing first: is this a job for the kitchen table or for a professional? The answer depends on the object, not on the damage. A common white ironstone platter can be glued and filled at home with no harm done. A signed eighteenth-century plate, a piece with gilding, or anything with a hairline that runs into the mark should go to someone who has done it before. German-speaking collectors read a good deal about these distinctions on Porzellanscherben richtig kleben, a German-language magazine on porcelain, ceramic and glass restoration that covers gluing, filling, retouching, glaze faults and the legal side of selling restored ware.
How do I glue porcelain sherds correctly?
Gluing is the step most often done badly, and the mistake is almost always the same: too much adhesive, applied to both faces, pressed hard, and squeezed out over the glaze.
Start by fitting the pieces dry. Lay the sherds on a towel and assemble them without adhesive. Note the order in which they meet, because a plate that broke into five pieces usually goes back together in one sequence and not another. Clean the break faces with a cotton swab and denatured alcohol. Do not wash the sherds in water: old ceramic bodies and unglazed foot rims absorb it, and a wet break face will not hold.
Use a conservation-grade adhesive rather than household superglue. Cyanoacrylate sets fast and holds hard, but it is brittle, it fogs glaze over time, and it fails suddenly under a knock. A two-part epoxy formulated for ceramics, or a reversible acrylic resin such as Paraloid B-72 in acetone, gives a slower set and a joint that can be taken apart later. Paraloid is the standard choice in museum practice because acetone reverses it.
Apply the adhesive with a fine brush or a toothpick to one face only, along the inner edge of the break, not the outer. Press the pieces together with light pressure and hold them with masking tape or a padded clamp. Wipe any squeeze-out immediately with a swab dampened in solvent, before it cures. Work from the largest sherd outward, and let each joint set before adding the next. A plate assembled all at once will drift out of register.
For a hairline that has not opened, do not force it. A thin resin drawn in by capillary action along the line, then cured under a lamp, will stabilize it without separating the piece.
How do I fill missing areas on ceramics?
A gap is filled with a material that can be shaped to the missing profile and then sanded flush. The traditional material is plaster of Paris, and it is still used on objects that will not be handled. The modern material is a two-part epoxy putty, which is stronger, does not shrink, and can be carved and sanded after it sets.
Before filling, build a dam. On a flat rim, tape a strip of card or acetate along the outer edge of the gap so the fill has something to sit against. On a curved body, a strip of flexible plastic works. Mix the putty in small batches, because it sets in minutes, and press it into the gap slightly proud of the surface. Let it cure fully, usually overnight, before touching it.
Shaping is done with wet-and-dry abrasive paper, 400 grit to start and 1200 to finish, wrapped around a dowel or a finger. Work slowly and check the profile against the surrounding surface with a fingertip and with raking light. The goal is not a perfect surface but a continuous one: the fill should meet the glaze at the same height, with no ridge and no hollow.
On a missing handle or a figurine's finger, the fill has to carry structure, and that is a different job. A wire armature is set into the gap first, then the putty is built up around it in layers. This is where most home repairs fail, and where a restorer earns the fee.
How do I retouch a damaged decoration on porcelain?
Retouching is painting, and it is done last. The fill is first sealed with a thin coat of acrylic resin so the paint does not sink into it. Then the missing decoration is rebuilt in layers, from the lightest tone to the darkest, using acrylic paints or conservation colors thinned with water.
Match the color under daylight, not under a household bulb. Mix a small amount on a white tile and test it on a scrap of the same fill material before touching the object. Build the color in thin washes rather than one opaque coat; the eye reads a decoration as continuous when the tone is right, even if the drawing is approximate. A blue-and-white pattern is usually two or three tones of the same blue, not one.
Gilding is the exception. Gold on porcelain is either burnished gold leaf or a fired gold, and neither can be matched convincingly with paint. A restorer will often leave a gilded loss visible rather than paint it, and collectors should accept that. A painted gold that looks right in the hand looks wrong on the shelf.
After the paint is dry, a thin coat of acrylic varnish is brushed over the retouched area to bring its sheen in line with the surrounding glaze. Matte, satin or gloss: choose by comparing the object under a window, not by the label on the jar.
What to record, and what to disclose
Keep a written record of every repair: what broke, what adhesive and fill were used, what colors were mixed, and the date. Photograph the object before, during and after. This record travels with the piece and matters more than most owners expect.
Disclose the repair when the object is sold. In the United States, the relevant guidance for dealers comes from the Federal Trade Commission's rules on deceptive advertising, and the practical standard in the trade is simple: a restored piece is described as restored. A repair that is hidden and later discovered costs more in reputation than the object is worth.
Store restored pieces out of direct sun, which fades retouching, and away from radiators, which cycles the fill and the glaze at different rates. Handle by the body, never by a repaired handle or rim. A repair done well will outlast the owner who made it, provided it is not asked to carry weight it was never meant to carry.
Repair work often raises a practical question for collectors and heirs: how much restoration should be disclosed when a piece is later sold. The published guidance behind the figures and rules summarized above comes from the Federal Trade Commission, whose advertising and marketing materials address descriptions of repaired and restored goods. In a Vermont estate or a New England auction, a filled rim chip or a retouched enamel decoration is part of an object's history, and stating it plainly in a catalog entry or a shop tag keeps the record honest for the next owner.